

皆様こんにちは☀️
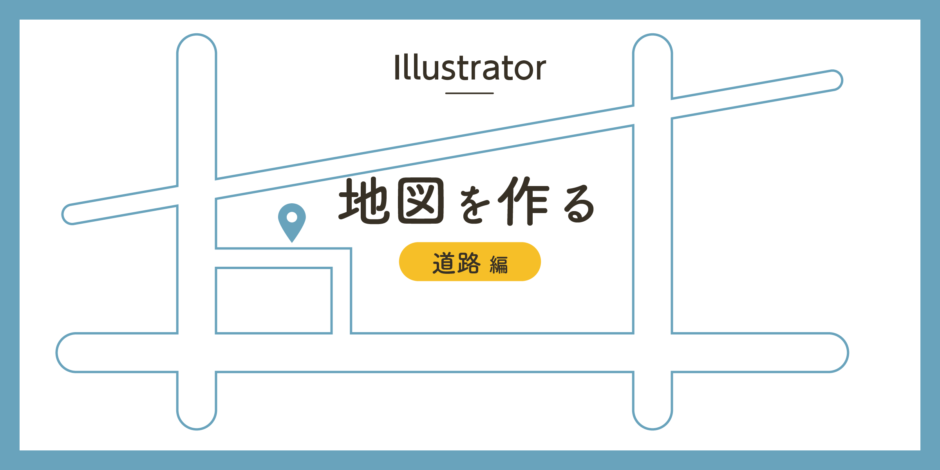
シリーズ第3弾、道路編です。(前回記事はこちら↓)
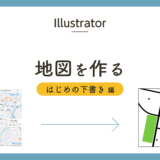 【Illustrator】地図を作る〜はじめの下書き編〜
 【Illustrator】地図を作る〜線路編〜
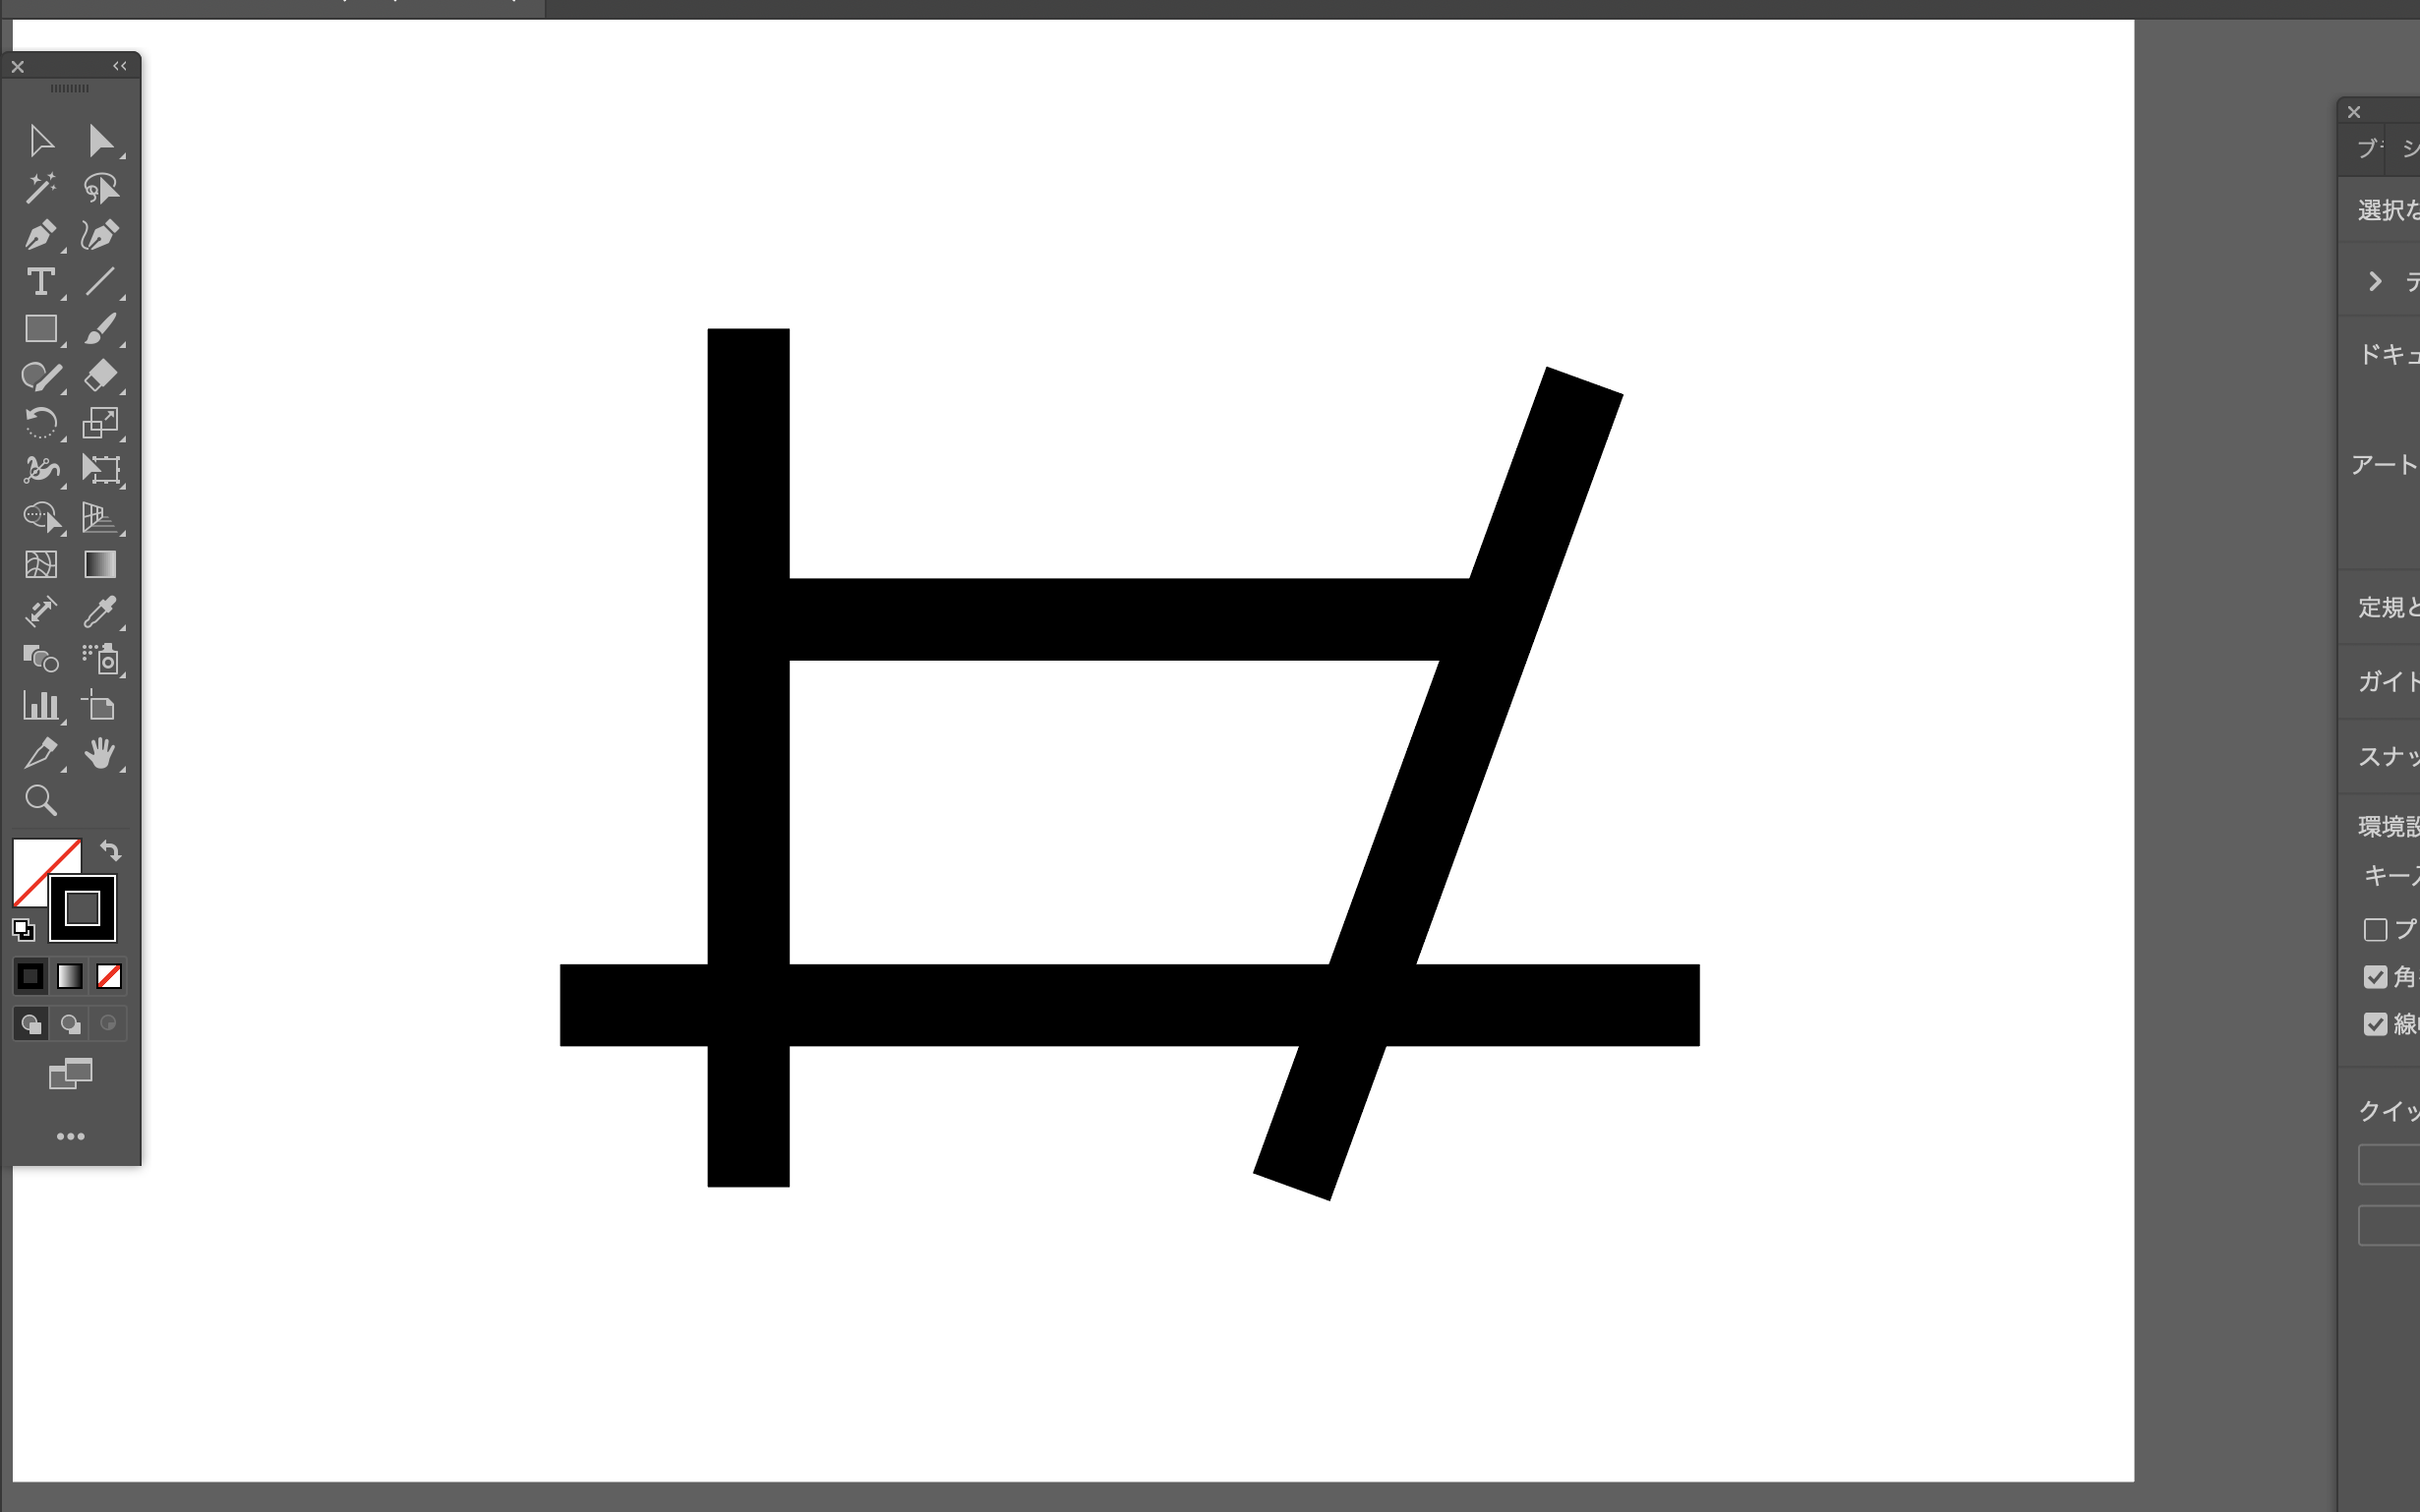
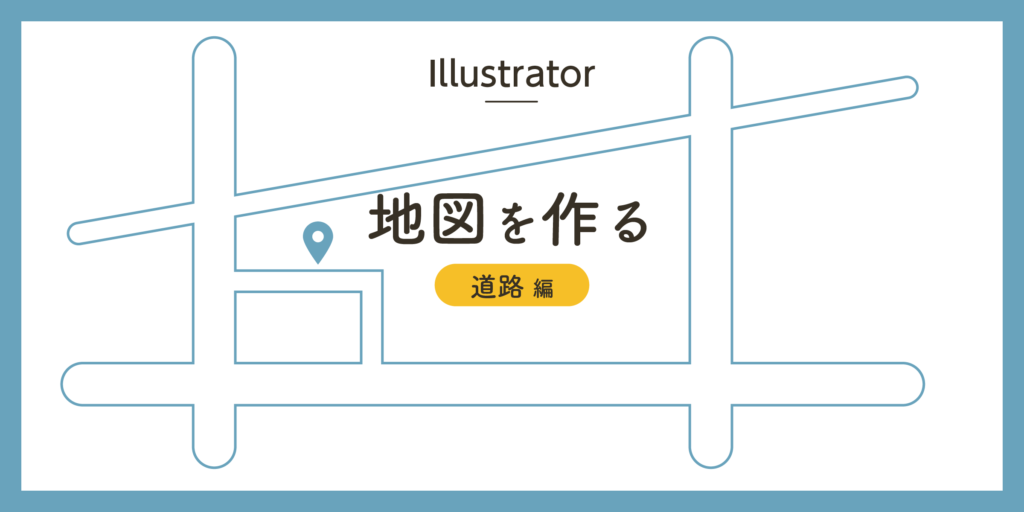
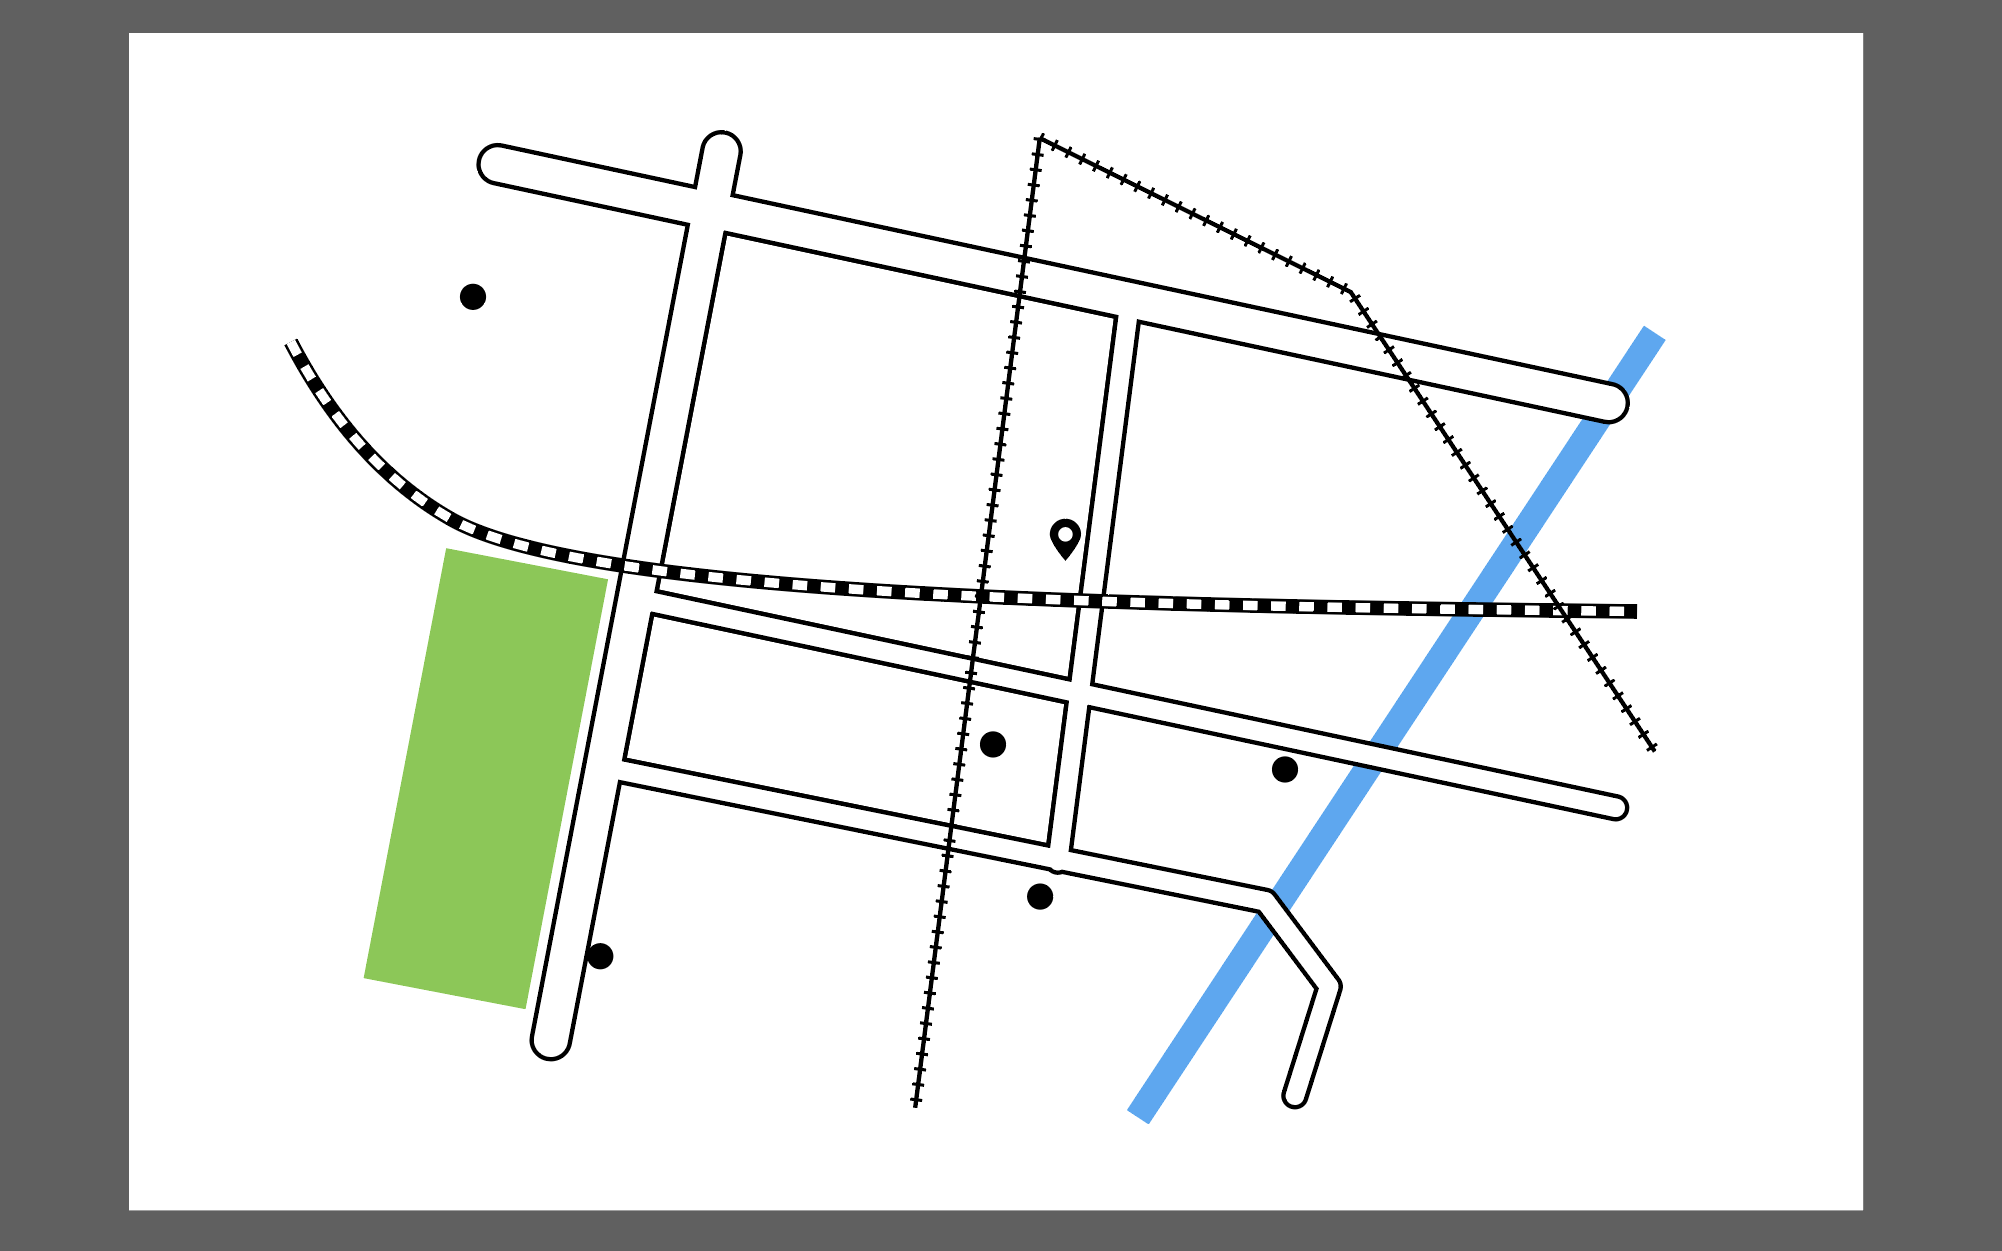
いろんな作り方があるかと思いますが、今回はこの画像のようにシンプルな枠線の道路を作ろうと思います。


書いた人:yuki
2024年4月タムラ印刷に入社。WEB担当として勤務しています。
元ホテルフロント、元保育士。 初心者からのスタートですが、日々いろんな制作に苦戦しながらも楽しんでいます。
SNSや自社HPを更新したり、デザインしたり、コーディングしたり。
目次
(今回見やすいように40ptというものすごい太さで作っています🤣)
すでに下書きの線がある場合、2つ目の「角を丸める」から作業してみてください✨
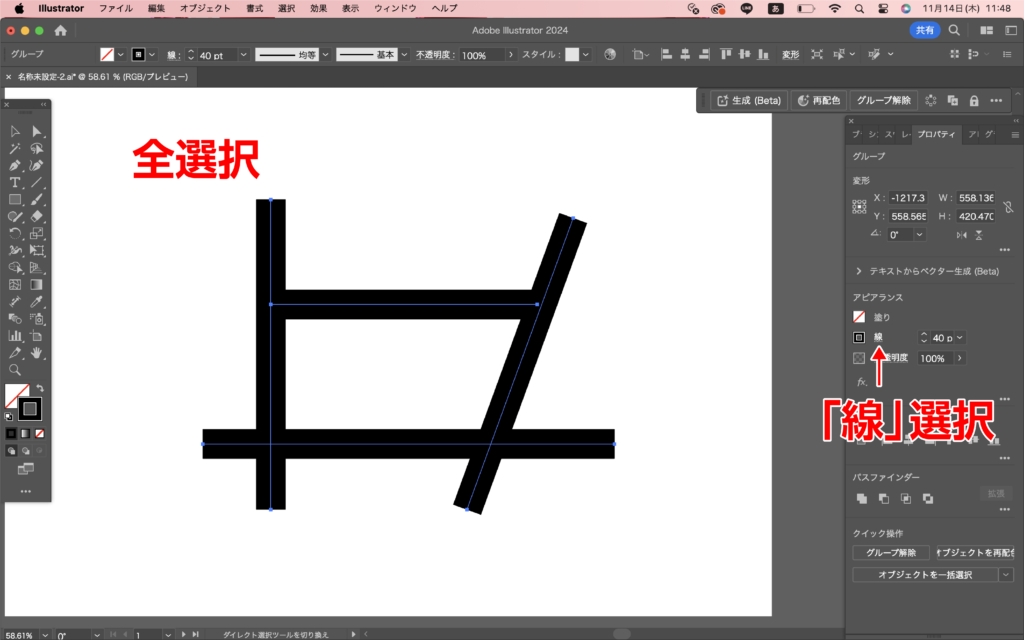
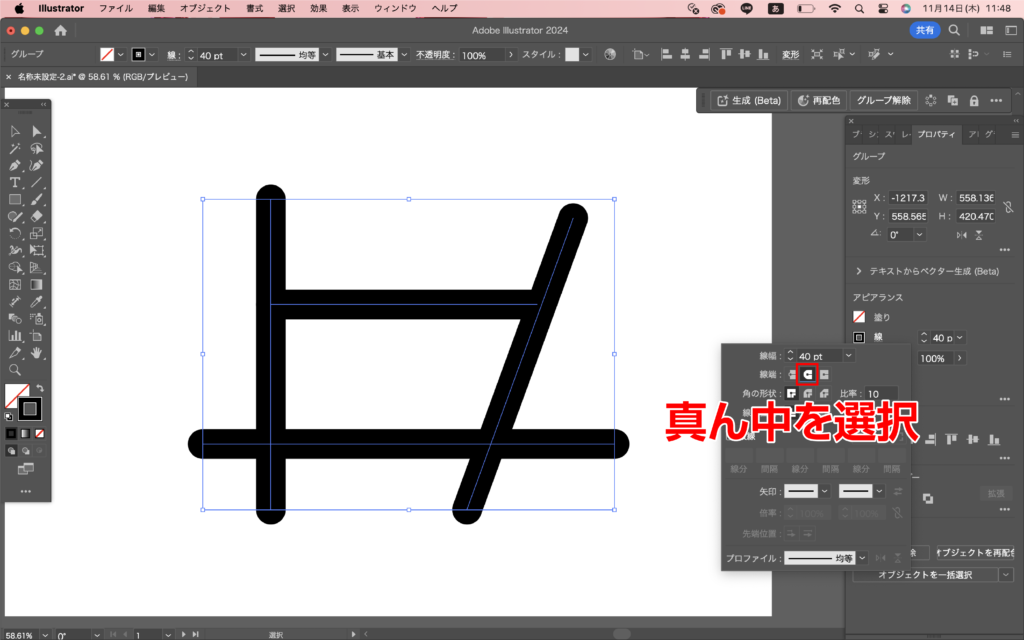
道路を全選択!
右側から「線」の文字をクリックします。
「線端」を真ん中の角丸にします。
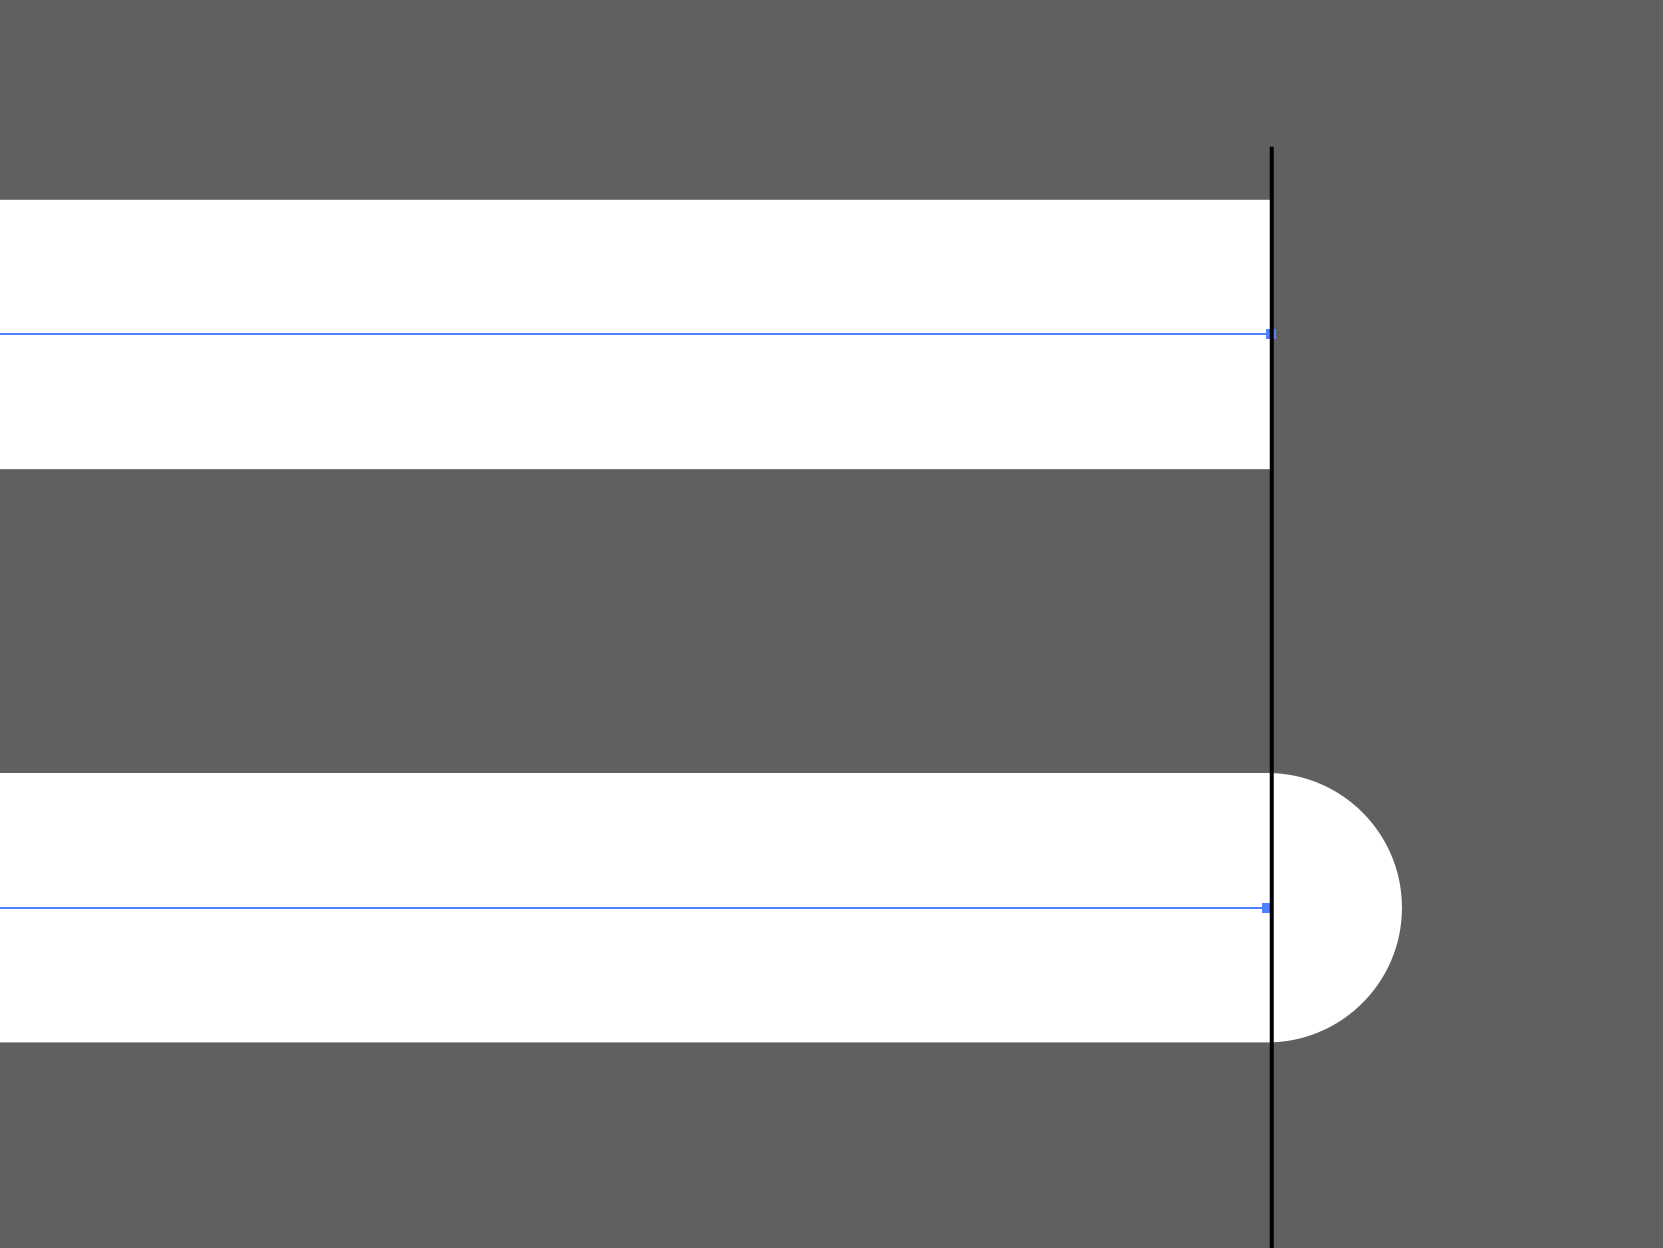
角丸にしたらちょっとはみ出た!って方は、調整してみてください。
(こんな風に↓線の端を支点にして円ができることで、はみ出るんですね😭)
全選択→グループ化した後、オブジェクト→パス→パスのアウトライン
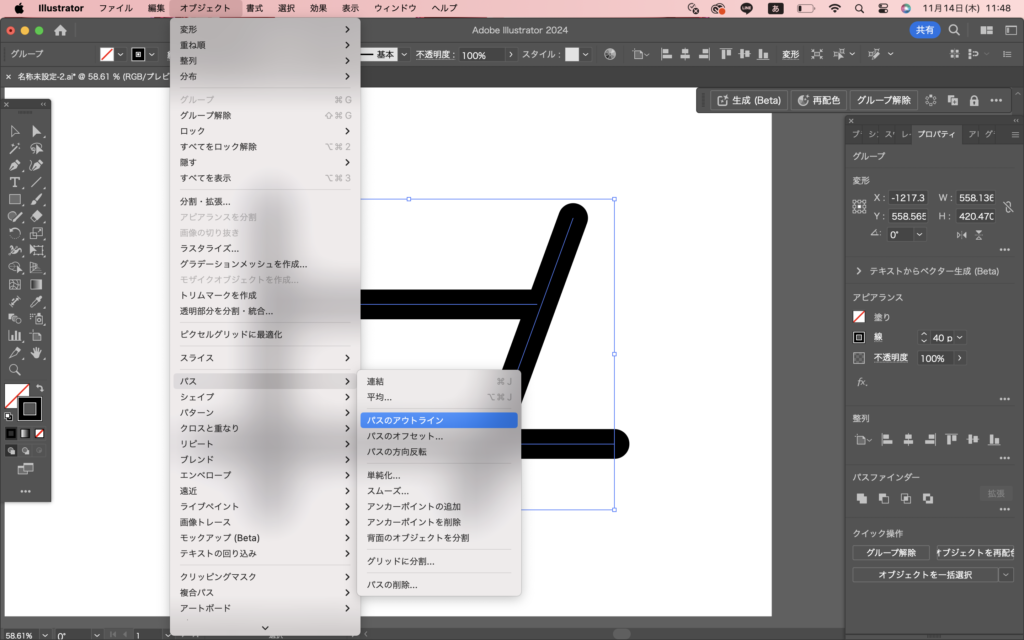
線ではなくて、角丸の図形になりました。
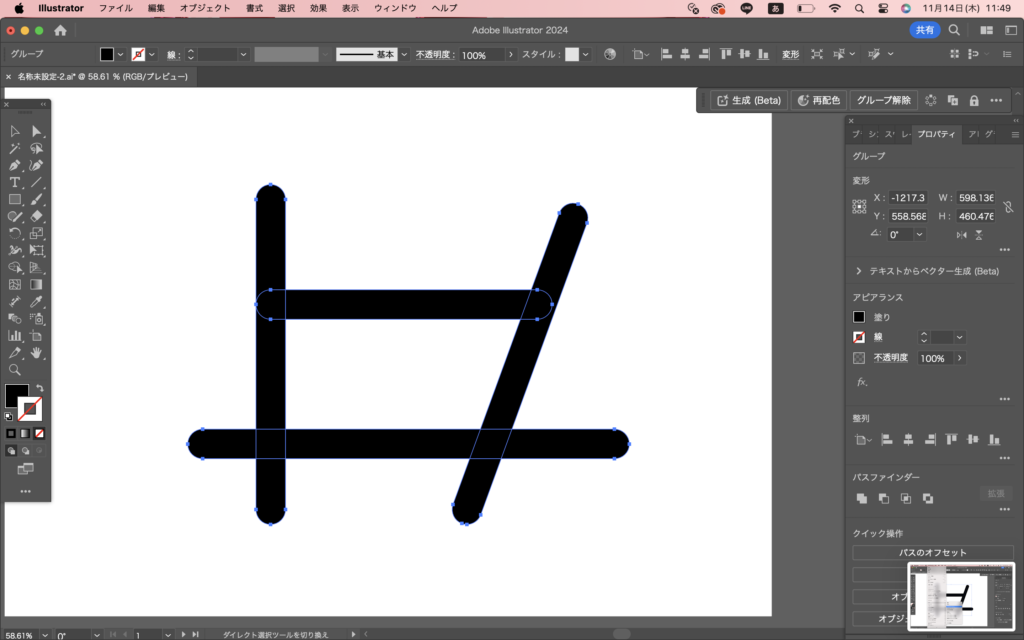
右側の「パスファインダー」から合体
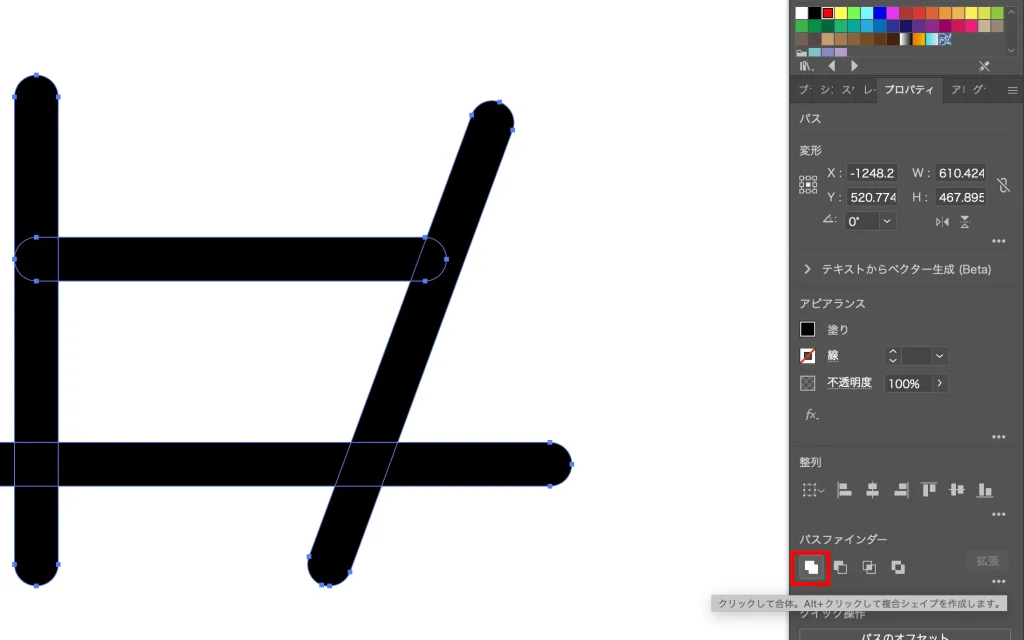
境目がなくなりました。

タイトルのような画像がお好みでしたら、ここで色を白に変えます。
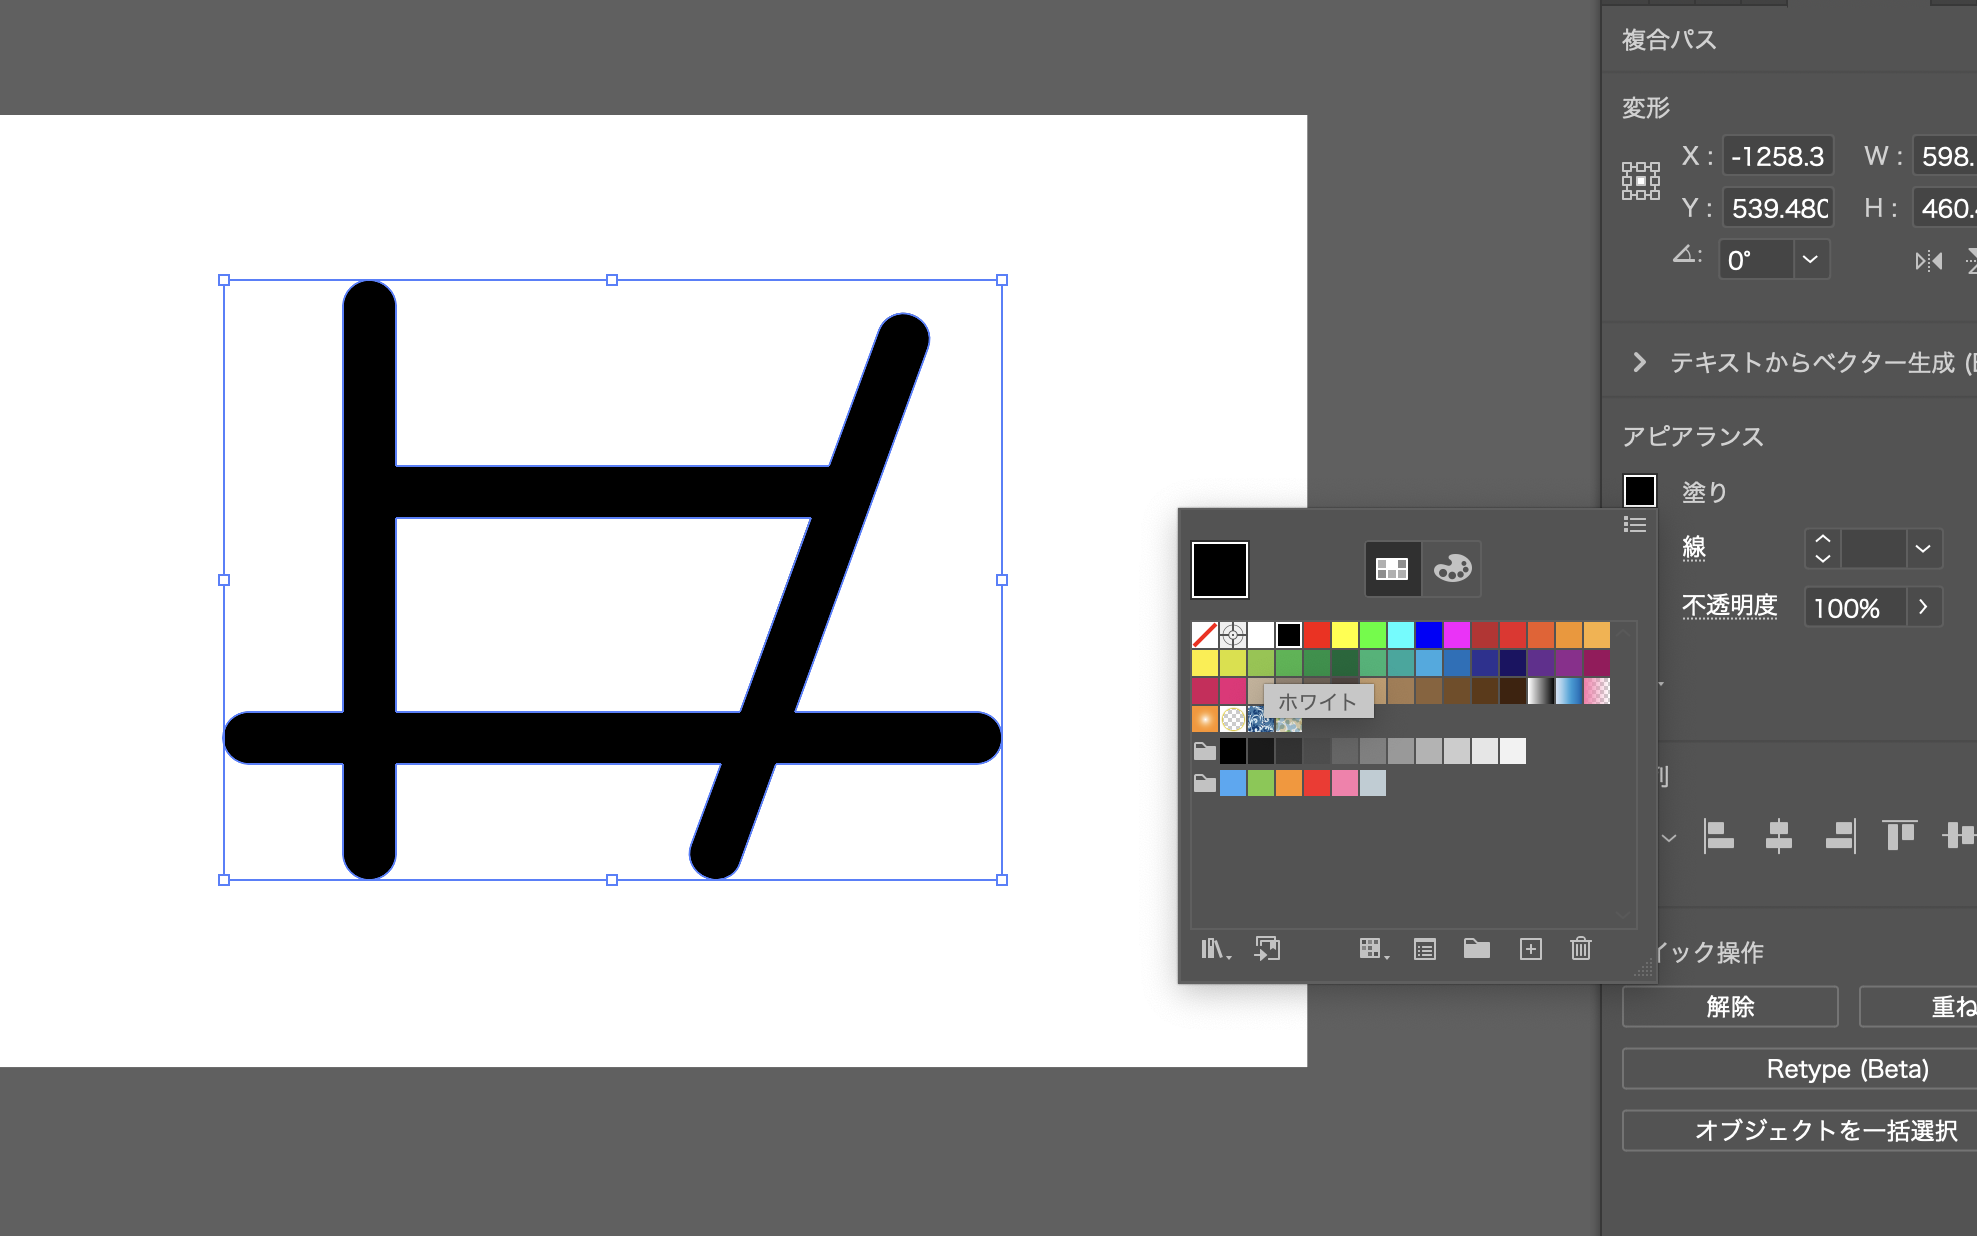
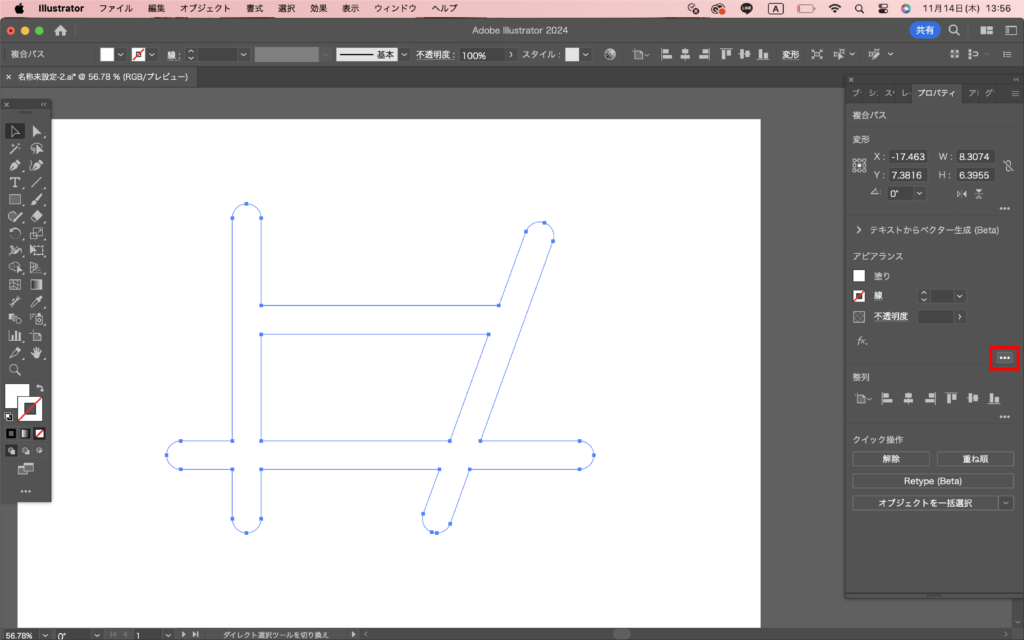
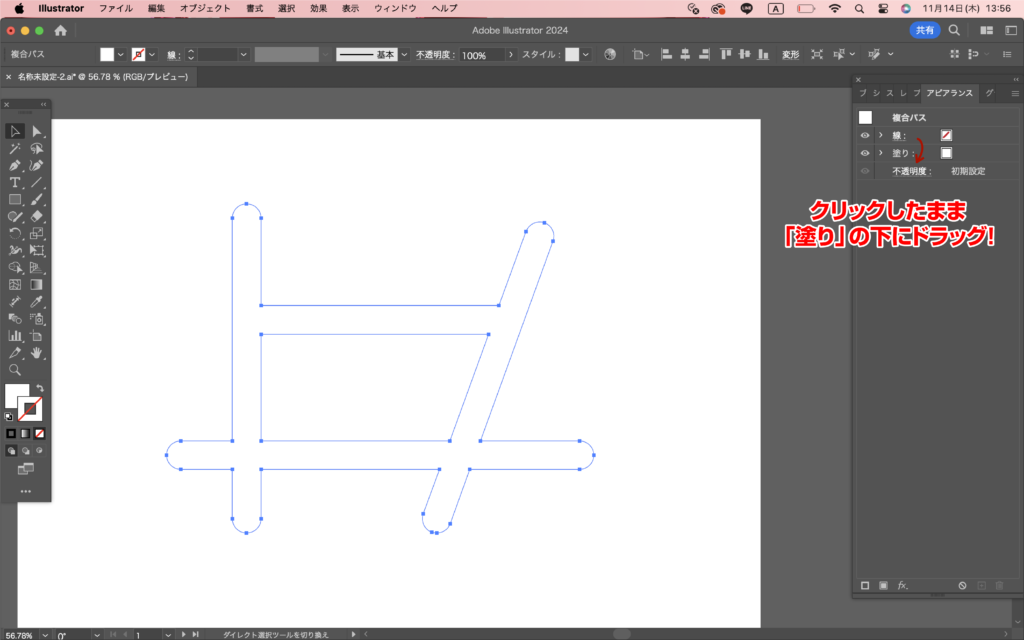
右側アピアランスパネルの「…」をクリック
「線」を、「塗り」の下に持っていく。
「線」を数pt太くしたらお好みの色に変更します。
完成!

前回の下書きに適用させるとこんな感じです🌟
(所々改善が必要ですが…笑)
次回は、信号や国道標識、公園や建物について書けたらいいな…
見てくださってありがとうございました🙇♀️!!
